Simple Activity Indicator Script for AJAX & Non-AJAX Requests
By Aaron F. December 22nd, 2013
Hey guys!
As you may have read recently in my Twitter feed here, we are getting back to blogging for the winter of 2011. Generally during the summer we are out having fun in the sun, and who really wants to be cooped up in an office when you could be out having a few beers?
Alright, enough with that, let's dive into the script we have prepared for todays article.
We are very excited to publish this script as it fills a need that we have struggled with for quite some time: Showing a loading/progress indicator when a page request is activated but one that doesn't necessarily rely on an AJAX request to work properly. The following script is designed to work with ANY request, mainly a-href style links, form buttons & onClick events will all trigger the loading indicator to display. Particularly handy with web applications!
We have coded it all up into a zip file for your pleasure with some fancy CSS and Javascript to make it easier to work with. Download the files above, upload them all to your server, and load index.php to get an idea of what this script does!
The Code
There are three main parts to make this script function. First is the Javascript file, seconded by CSS Stylesheet, & finally the code that actually makes up the loading indicator. Lets first take a look at the regular index file that includes all these separately and where your links that activate the loading indicator will appear. Also note, we have cut out the non-essential HTML that will be in our example & downloadable files, for ease of explanation.
Index.php
<!DOCTYPE HTML PUBLIC "-//W3C//DTD HTML 4.01 Transitional//EN" "http://www.w3.org/TR/html4/loose.dtd">
<html>
<head>
<link href="indicator_files/indicator.css" rel="stylesheet" type="text/css">
<script src="indicator_files/indicator.js" type="text/javascript"></script>
</head>
<body>
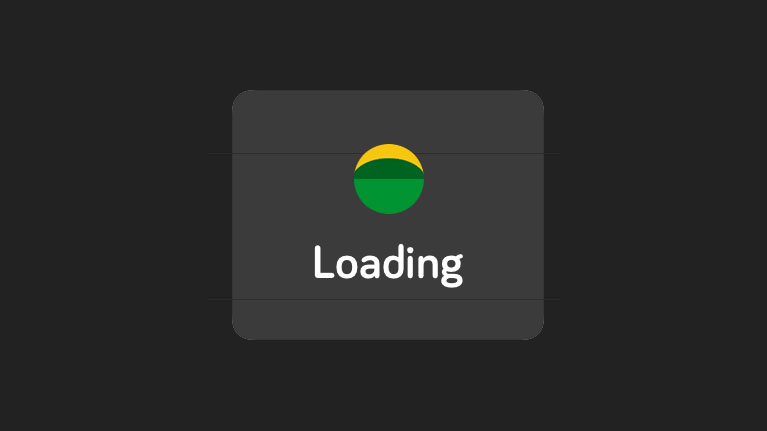
<div id="busy_indicator">
<div class="indicator">
<img src="indicator_files/indicator.gif">
<br><br>
Loading...
</div>
</div>
<p><a href="index.php">Text Link</a></p>
<p><FORM METHOD="LINK" ACTION="index.php">
<INPUT TYPE="submit" VALUE="Form Button">
</FORM></p>
<p><INPUT TYPE="button" value="onClick Event" onClick="parent.location='index.php'"></p>
<p><img src="clickable_image.png" onClick="parent.location='index.php'" width="100" height="100">
<br>Image With onClick Event</p>
<p><a href="index.php"><img src="clickable_image.png" width="100" height="100"></a>
<br>Image With Standard Link</p>
</body>
</html>
In the above files, we will start with lines 5 & 6. Line 5 links to the CSS file that actually styles our loading indicator & positions it appropriately. We will take a look at it next. Line 6 is our Javascript file that takes care of actually showing & hiding the loading indicator when a request is made. We will look closer at the JS in a few moments here.
Lines 11 - 17: This is the actual indicator itself. In our example, we have the loading indicator floating over the content. If you want your setup the same, these lines must be placed IMMEDIATELY following the opening body tag.
Lines 20 - 32: The actual working link examples of when the loading indicator is displayed. We have used standard A links, onClick events, and form submit requests.
Now that we have our index file configured, lets take a look at the CSS.
Indicator.css
#busy_indicator {
display: none;
z-index: 99;
position:absolute;
width:100%;
}
div.indicator {
background-color:#000;
padding-top:10px;
padding-bottom:10px;
height:65px;
width:100%;
color:#FFF;
font-family:Arial, Helvetica, sans-serif;
text-align:center;
}
The first tag, #busy_indicator is surrounding DIV that is shown when a request is made, and then hidden when the request is completed. It is important to note that the name #busy_indicator matches and is the name referenced in our Javascript.
Line 2: This is the specific CSS property that gets changes with our Javascript. Default is hidden, we don't want people thinking there is activity if there really isn't, right?
Line 3 - 4: Lets us float our indicator over the content of the actual page.
Line 5: Sets the container to stretch from edge to edge!
The next section of our CSS file, div.indicator, styles the actual div that is visually seen by our users. It has a background colour of black, is 65px high with 10px of padding on the top and bottom, and stretches the entire width of our page. You would change this section based on the appearance of the loading indicator itself.
Lastly, we will cover the Javascript needed to make this all work.
Indicator.js
window.onload = setupFunc;
function setupFunc() {
document.getElementsByTagName('body')[0].onclick = clickFunc;
hideBusysign();
Wicket.Ajax.registerPreCallHandler(showBusysign);
Wicket.Ajax.registerPostCallHandler(hideBusysign);
Wicket.Ajax.registerFailureHandler(hideBusysign);
}
function hideBusysign() {
document.getElementById('busy_indicator').style.display = 'none';
}
function showBusysign() {
document.getElementById('busy_indicator').style.display = 'block';
}
function clickFunc(eventData) {
var clickedElement = (window.event) ? event.srcElement : eventData.target;
if (clickedElement.tagName.toUpperCase() == 'BUTTON' || clickedElement.tagName.toUpperCase() == 'IMG' || clickedElement.tagName.toUpperCase() == 'A' || clickedElement.parentNode.tagName.toUpperCase() == 'A' || (clickedElement.tagName.toUpperCase() == 'INPUT' && (clickedElement.type.toUpperCase() == 'BUTTON' || clickedElement.type.toUpperCase() == 'SUBMIT'))) {
showBusysign();
}
}
Lines 3 - 9: Covers actually Ajax requests and tell the indicator itself to be shown & hidden when a request is made.
Lines 11 - 13: This references the first property of our CSS, display: none;. When a request is completed, it changes this property to NONE, which is our default.
Lines 15 - 17: This is where the magic happens. When a request is made, this tells our website to change the CSS property from display: none; to display: block;, which means our indicator is displayed!
Lines 19 - 25: Define what kind of HTML elements should trigger the display of our activity indicator. This is important as there may be certain request types you do not want to display the indicator with, such as form elements.
Conclusion
This is a fantastic, versatile & lightweight script. It can be easily integrated & customized to fit your existing site & brand and is particularly useful for web applications on both mobile & desktop applications.
Topics: Web Design & Development